We will inform you of design know-how that can make clear aligner with high success rate.
Design process
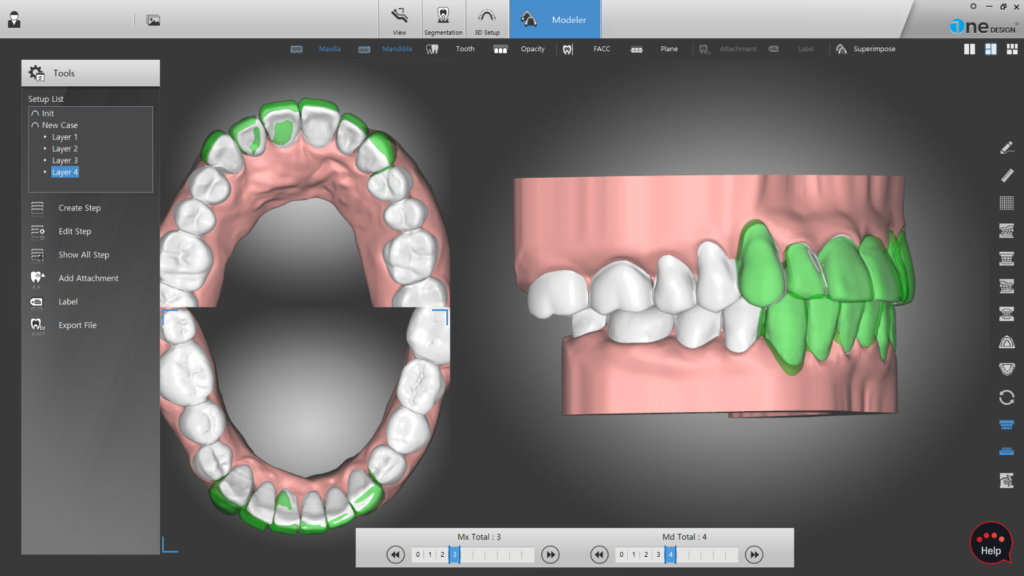
Clear aligner design is divided into 3 stages: Segmentation > Setup > Modeler.
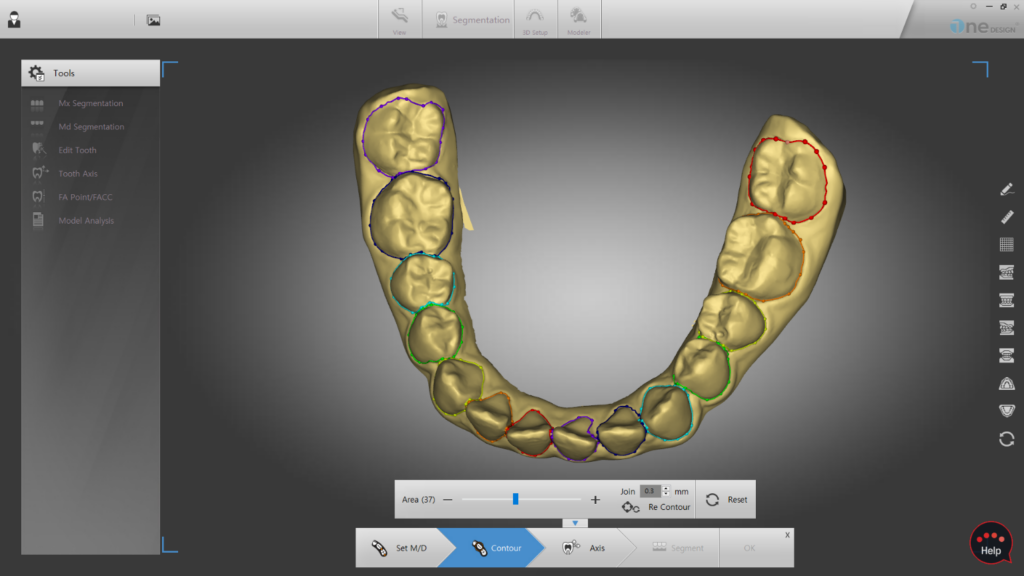
Segmentation
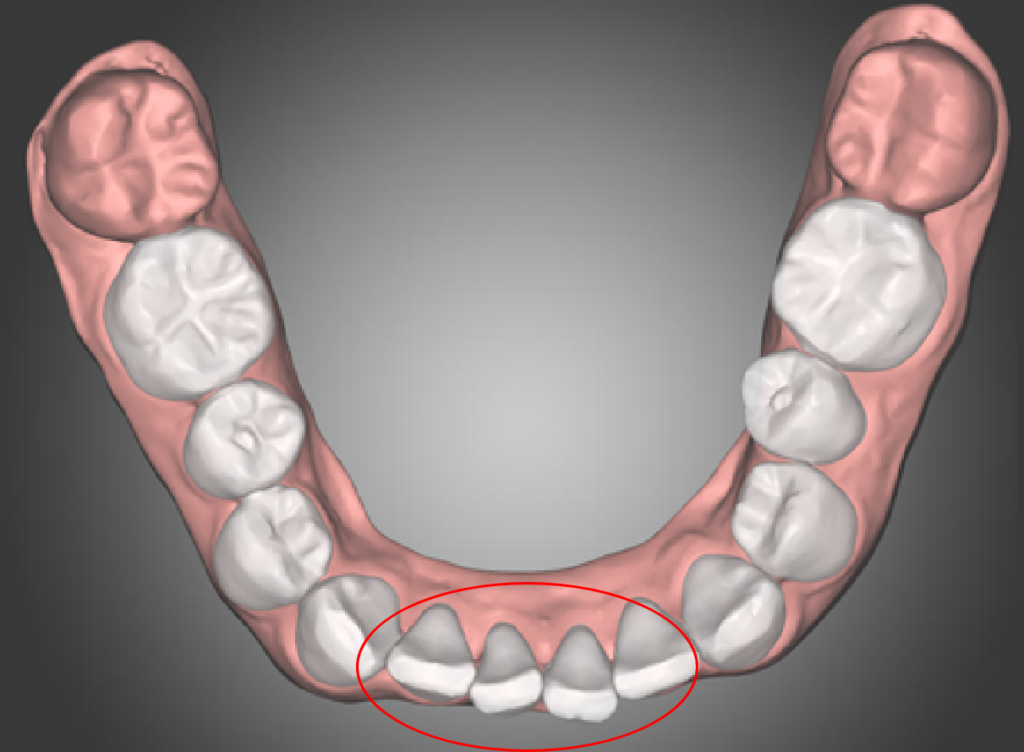
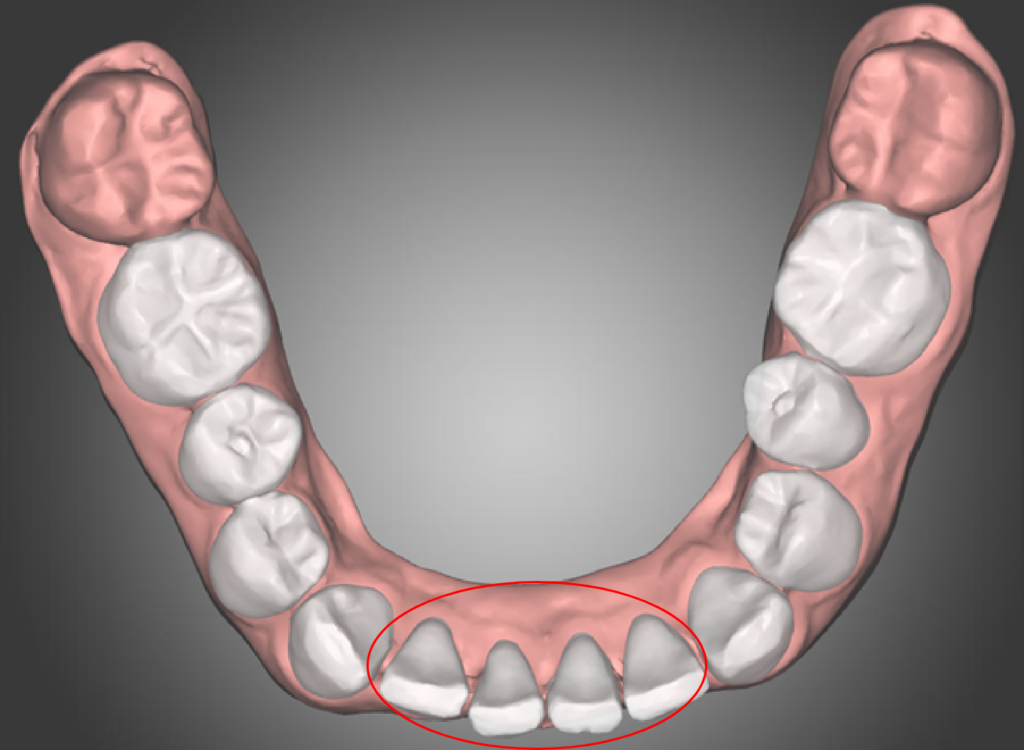
This is the process of separating teeth and gums. We provide know-how to maintain the shape of the patient’s teeth. When segmenting only partial teeth(eg, want to setup only anterior, etc.) Since a non-segmented tooth is recognized as a gum, it is segmented by +1 compared to the tooth to be moved to prevent morphing.
Deformation of premolars due to morphing
+1 segmentation
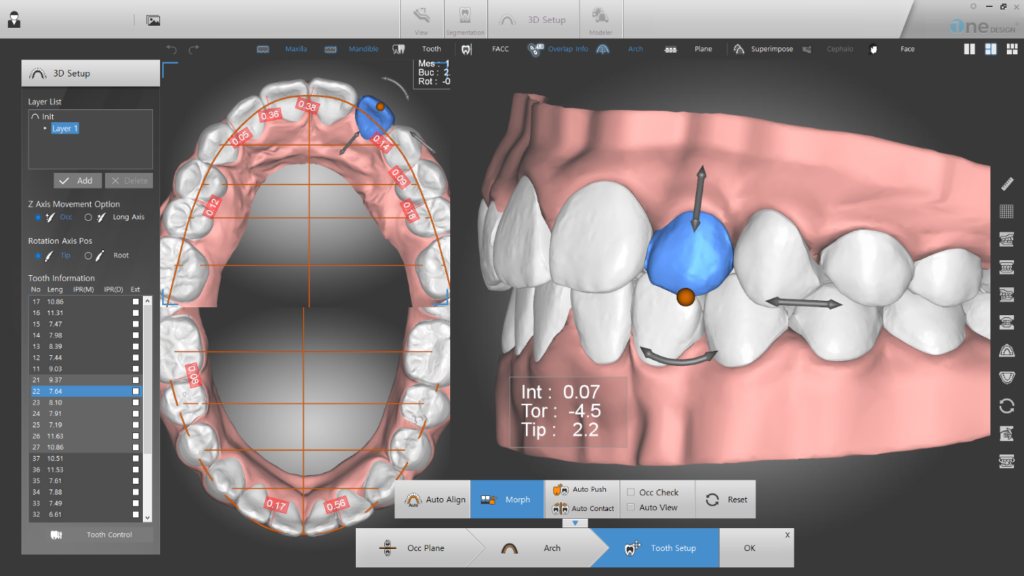
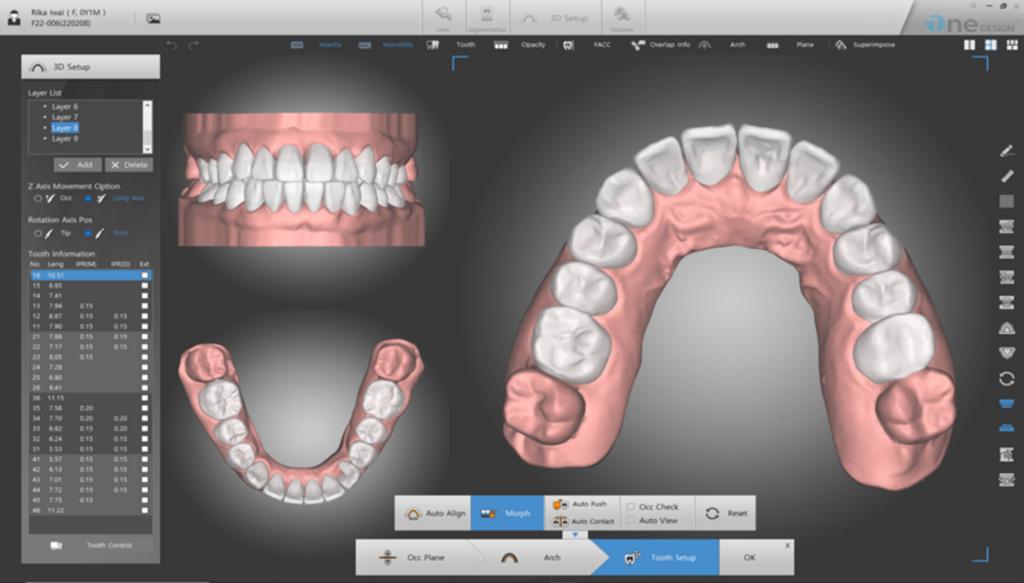
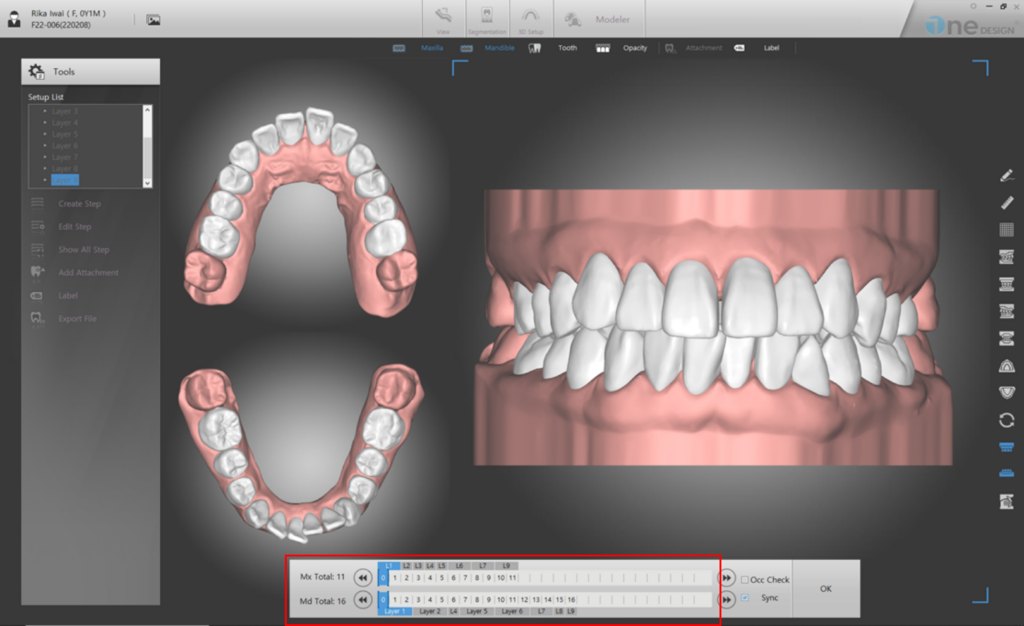
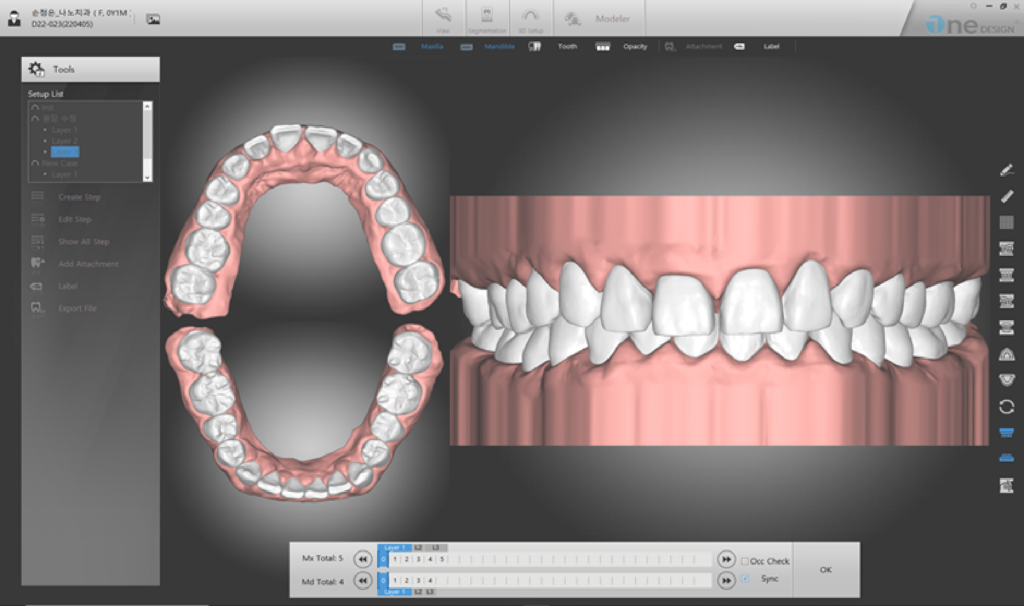
Setup
This is the process of moving teeth arbitrarily to make clear aligner.
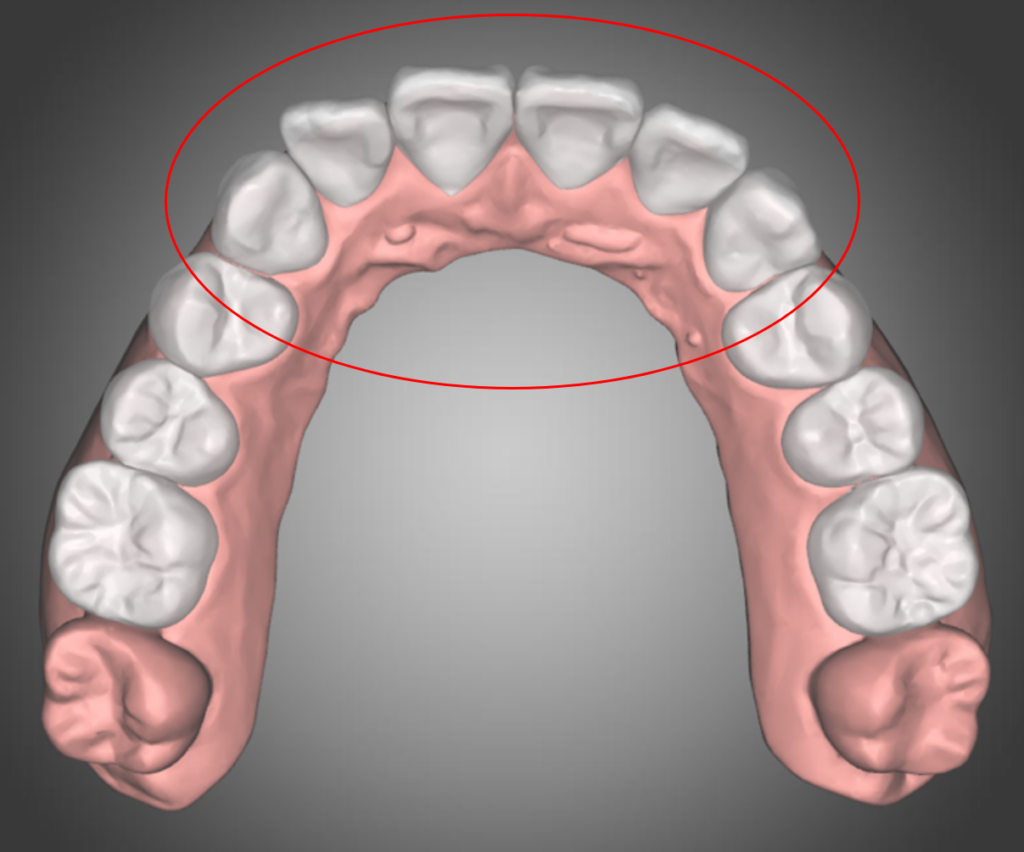
Space
Because the teeth do not move when contact occurs between teeth, To prevent contact, there must be space for the teeth to move.
Incompatible setup
Compatible setup
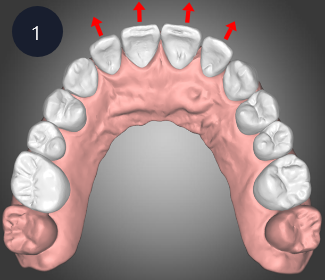
How to make space
Expansion
Depending on the tooth crowding, expansion through the whole movement including the tooth root, or through torque adjustment.
#11-21 0.30mm, #13-14 0.3mm, #23-24 0.30mm IPR
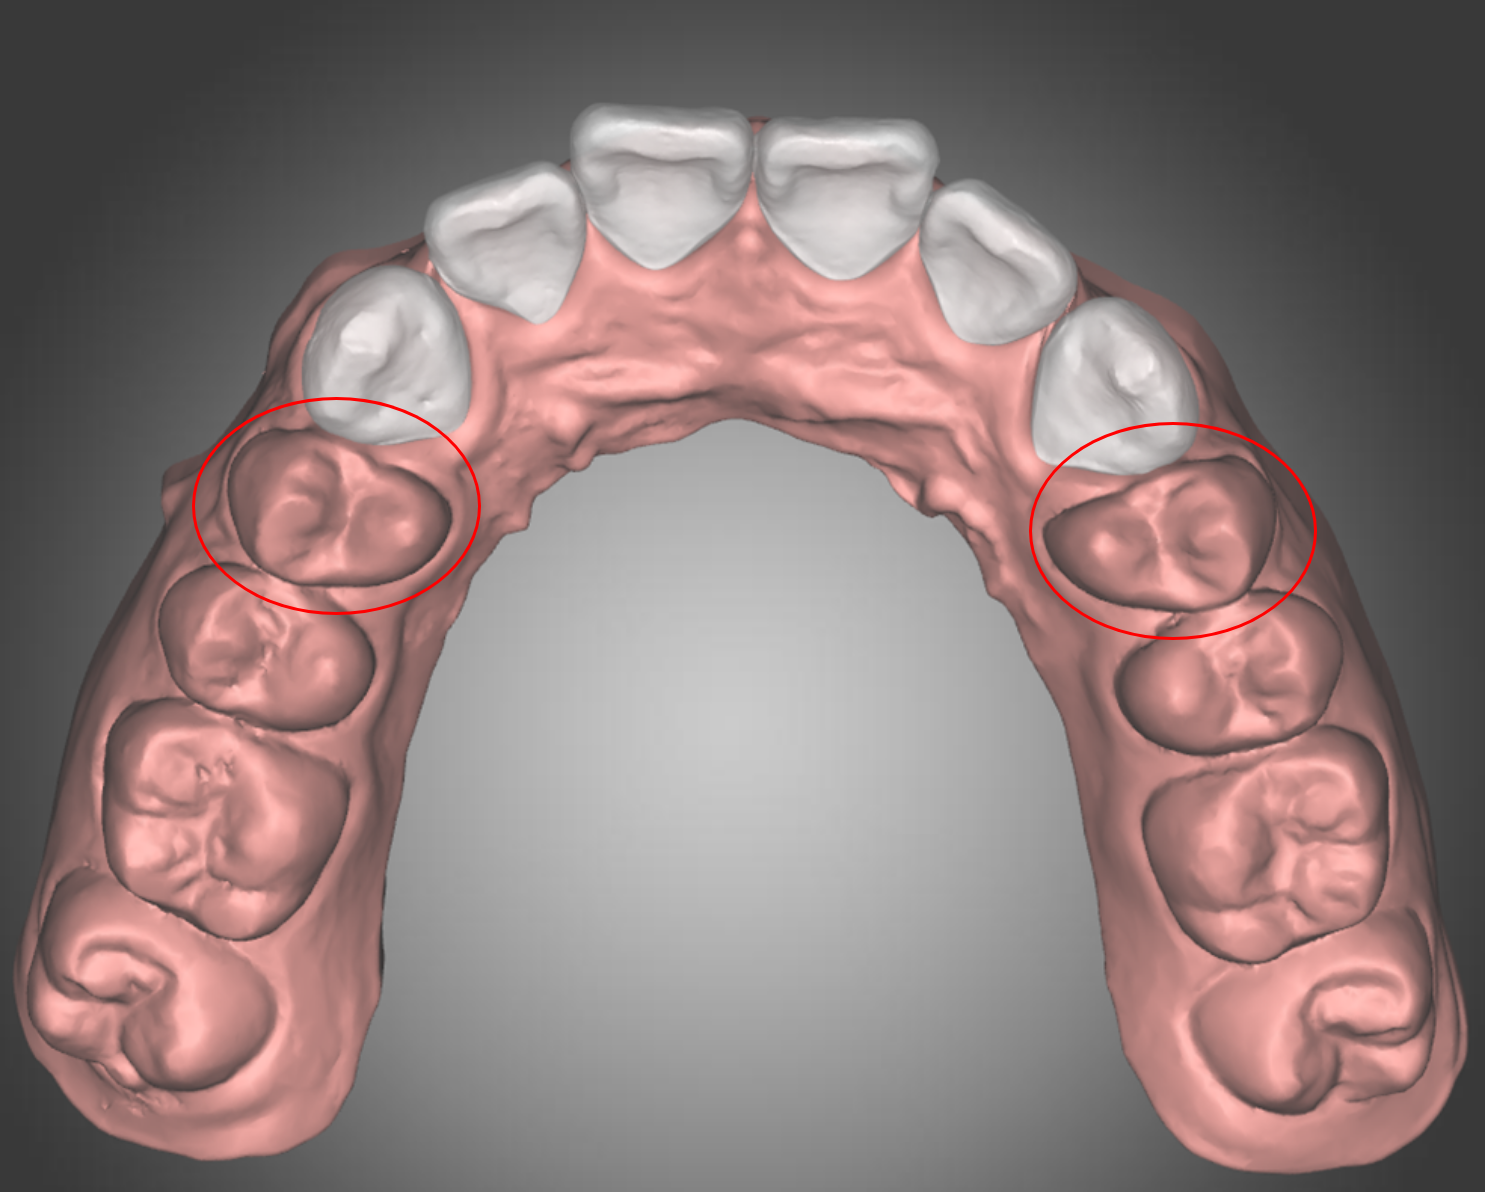
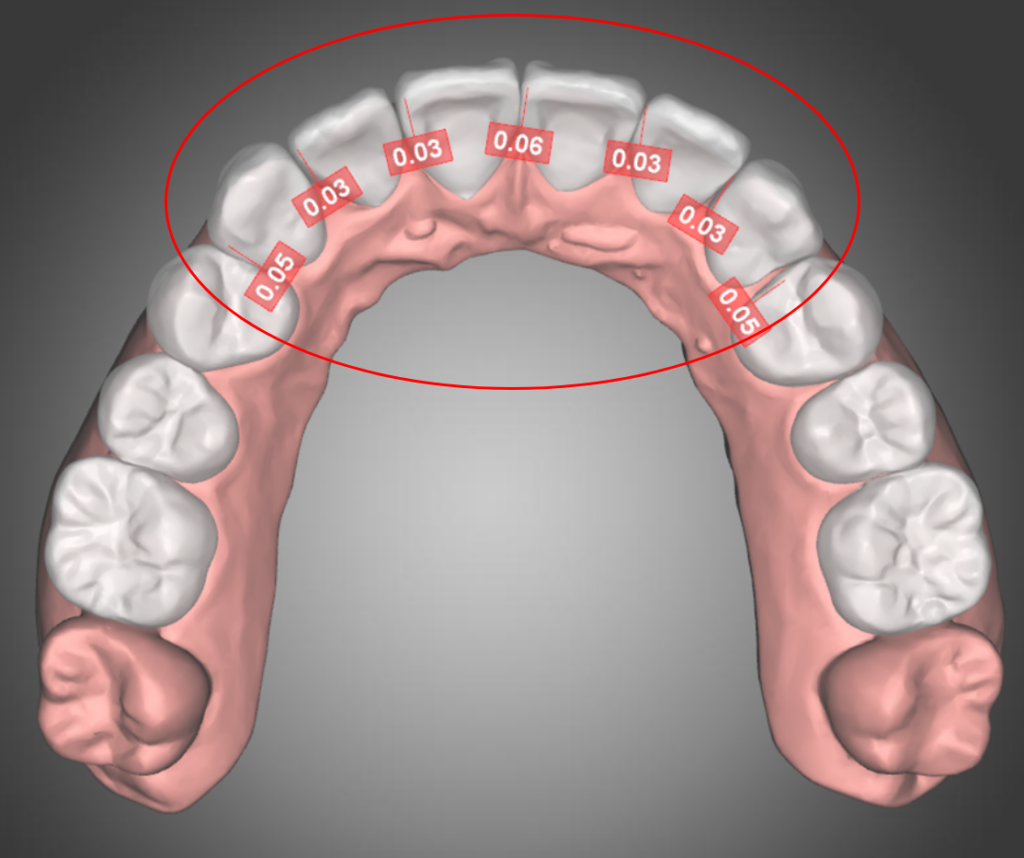
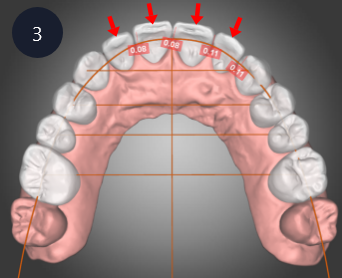
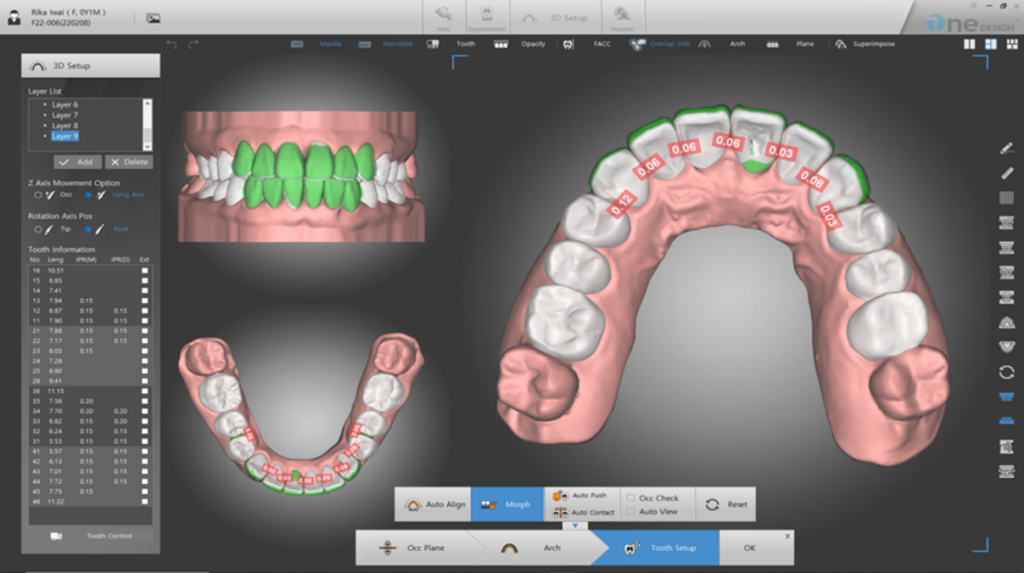
IPR
After final setup by distributing the overlap amount evenly, note the teeth and amount to be IPR.
Recommended IPR
The minimum thickness of enamel layer is usually 1mm, and half can be removed.
Tooth no. (FDI)
11
12
13
14
15
16
IPR (mm)
0.5
0.3
0.5
0.5
0.5
0.5
Tooth no. (FDI)
41
42
43
44
45
46
IPR (mm)
0.3
0.3
0.5
0.5
0.5
0.5
Layer
If you setup without a layer, it will interfere with adjacent teeth, so you must use and setup with a layer.
Due to the physical characteristics of clear aligner, overcorrection is required because the teeth do not move to the target position due to the deformation of the device. Overcorrection more than the target position within 0.1 mm of overlap or 0.2mm of movement.
How to select the sheet
Depending on the sheet, it can be changed how to divide the layers.
Hard sheet only (1 week per step)
Medium+Hard sheet (2 weeks per step)
Soft+Medium+Hard sheet (3 weeks per step)
Move 0.25mm per step
Move 0.4~0.6mm per step
Move 0.6~1.0mm per step
Very beneficial to achieve the step-by-step movement goal because the hard device has a strong elastic restoring force(orthodontic force) and the tooth movement effect.
Both clinician and patient satisfaction is high since the desired treatment result can be taken with a small number of steps.
The moving distance per step can be increased.
Low the risk of fracture as it is stronger than soft/medium.
In case of small movement, the treatment effect may decrease since the elastic strength is weaker than hard and the device becomes loose.
Easy to wear the device even if the amount of tooth movement is large.
High manufacturing cost as the number of prints increases due to small moving distance per step.
Reduce the number of printouts per step, but the manufacturing process becomes complicated as the number of devices increases.
Easy to guide and operate as the device thickness is the same.
Confuse little bit because the thickness of two device is similar.
Confuse to guide and operate as the device thickness is varied.
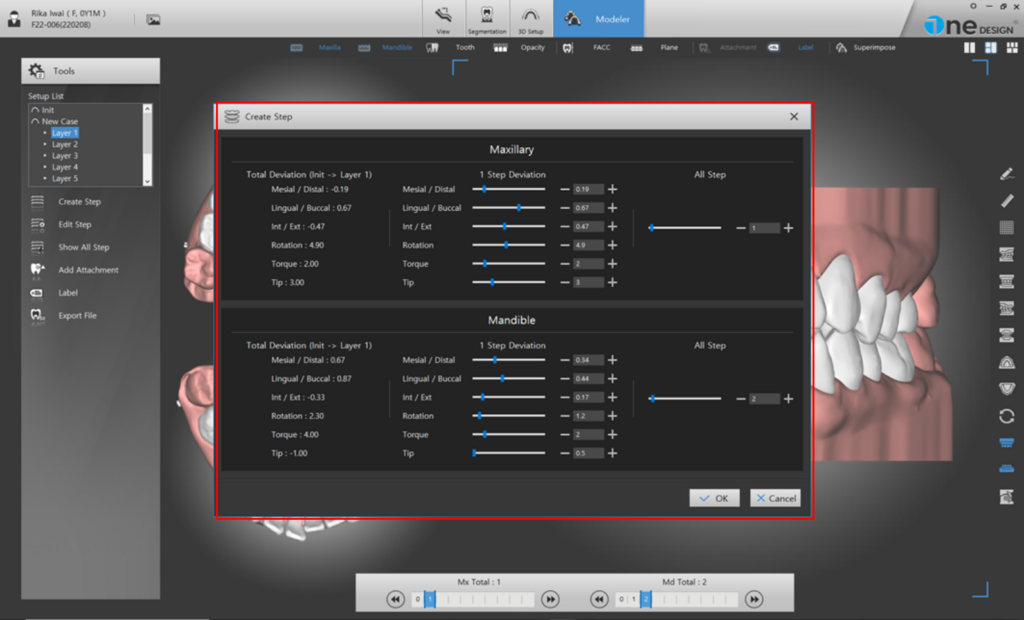
How to set step
How to calculate the total treatment period
Total number of steps (If the number of upper and lower steps is different, it is based on the long step) x Weeks per step according to sheet selection