
dentOne / clear aligner / 3D Orthodontic Software

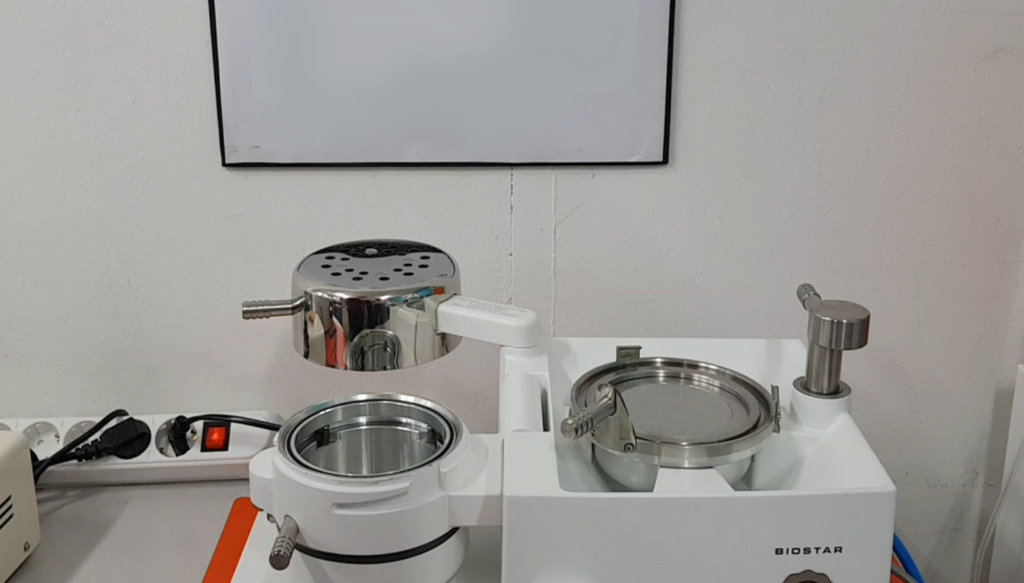
Item | Pressure forming | Vacuum forming |
Pressure | 4-6 bar | 4-6 bar |
Principle |  |  |
Strength and weakness | Expensive High forming quality | Cheap Low forming quality |
Item | Soft | Medium | Hard |
Thickness | 0.5mm (0.02inch) | 0.625mm (0.025inch) | 0.75mm (0.03inch) |
Image |  | ||
Tooth movement range | 0.6~1.0mm | 0.4~0.6mm | 0.2~0.4mm |
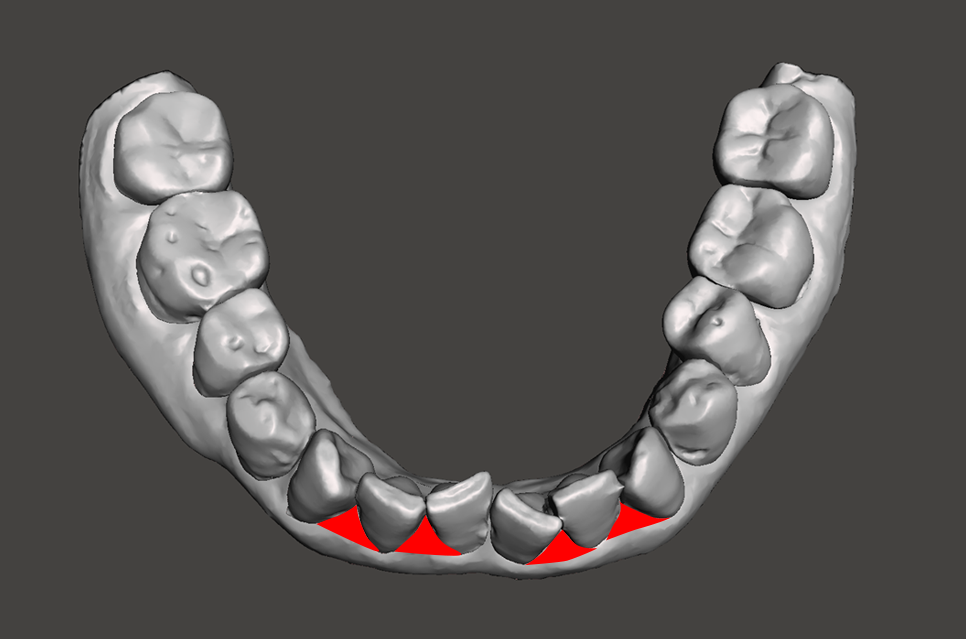
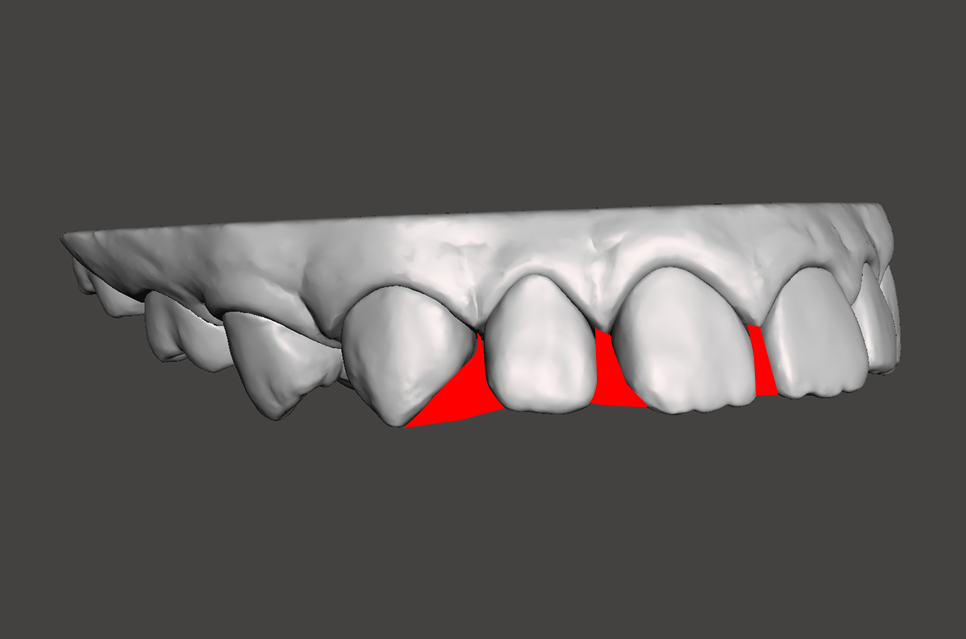
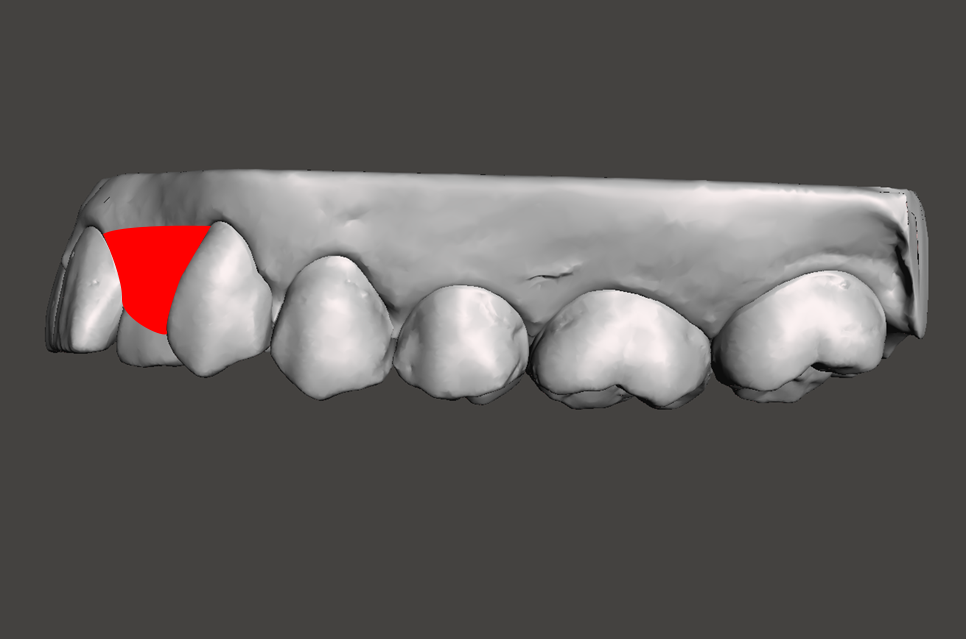
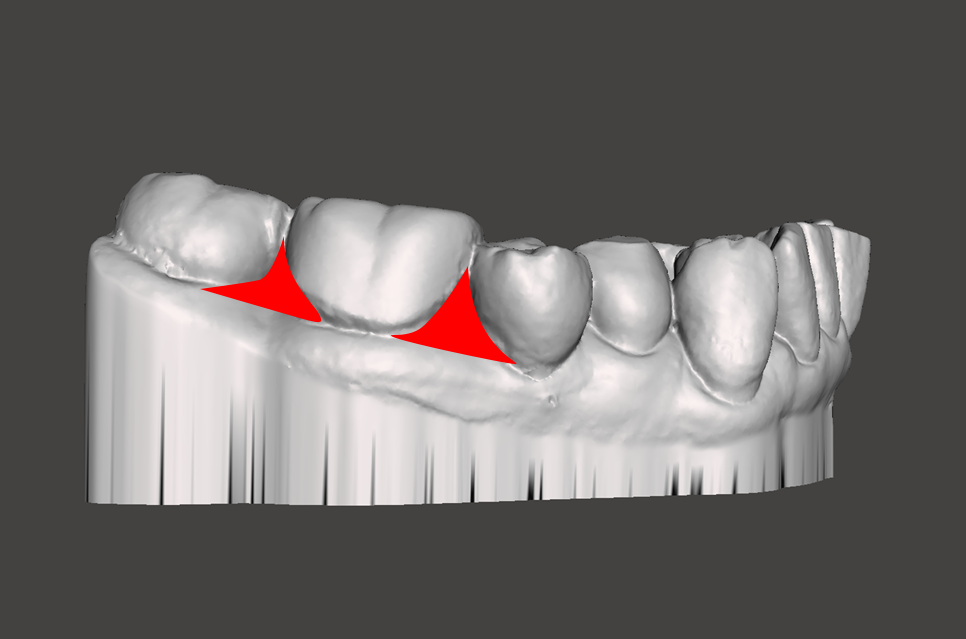
Gums are high | Adjusting to fit gums | Adjusting to fit gums |
Adjust pellet | Print model low | |
 |  |  |
 |  |  |
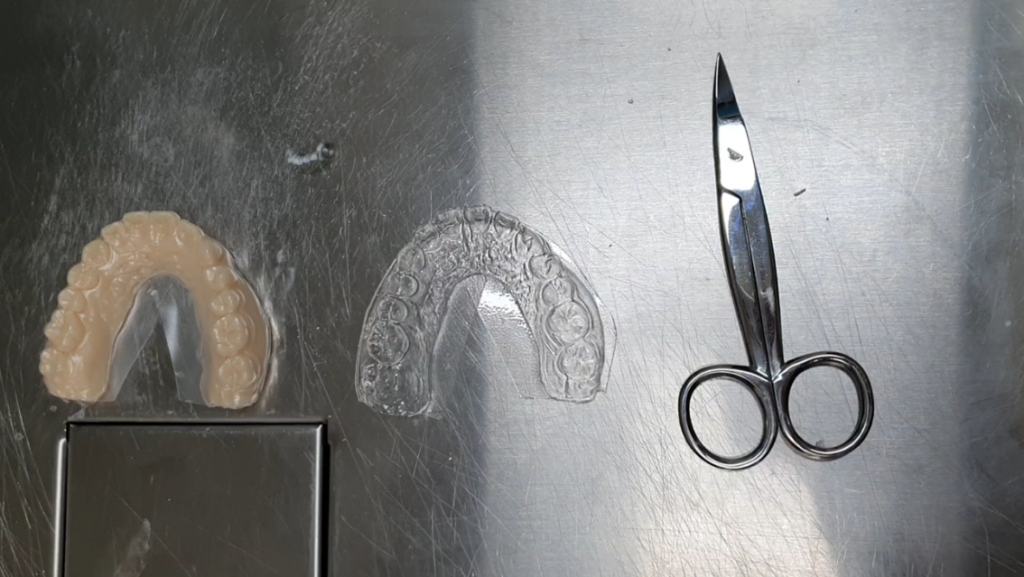
Along margin line | Straightly 2~4mm below margin line |
 |  |
Strength and weakness Little force transmitted No foreign body feeling | Strength and weakness Lot force transmitted because there are many parts to wrap May feel foreign body |